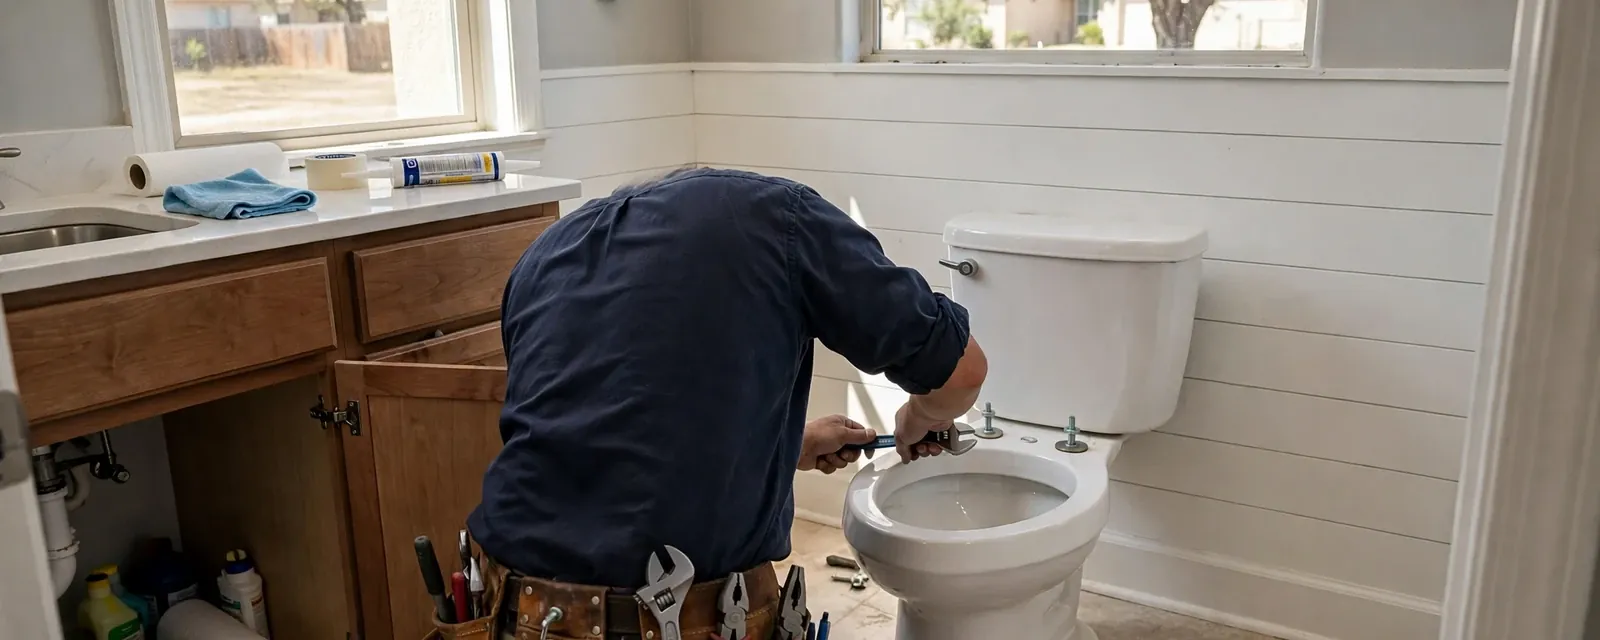
Before you buy: measurements that matter
Most installation problems are decided in the store, before a wrench comes out. A toilet that does not fit the space is annoying to return and worse to live with, so spend a few minutes measuring first.
The first measurement is the rough-in, which is the distance from the finished wall behind the toilet to the center of the drain flange in the floor. The most common size is 12 inches, though some bathrooms have 10 or 14. A mismatched rough-in leaves the toilet too close to the wall or too far from it.
Check the clearance too. Look at the space beside the toilet and in front of it, and make sure the new bowl shape, either round or elongated, fits comfortably. Measure the height of anything above the tank, such as a window sill or shelf, because a tall tank can collide with it.
Finally, look at what you are replacing. Note whether the bowl is bolted to a floor flange, whether the tank is separate or one piece, and whether there is a shut-off valve on the wall. These details tell you how the job will go.
Tools and supplies
- Adjustable wrench and a screwdriver
- New wax ring or wax-free seal, plus new closet bolts
- New water supply line, sized to the fill valve
- A putty knife and a bucket
- Old towels and a sponge
- A level
- A helper for lifting, because toilets are heavy and awkward
- Rubber gloves
Buy a new supply line and bolts for the job, even if the old ones look fine. A leaking connection is a common reason new toilets cause trouble in the first week. The extra parts cost little compared with a wet floor.
Installing the toilet, step by step
Shut off the water and empty the toilet
Close the shut-off valve behind the toilet, flush, and hold the handle to drain the tank. Sponge out what remains so nothing spills when you lift it. Disconnect the supply line from the bottom of the tank.
Remove the old toilet
Unscrew the nuts from the closet bolts at the base, then rock the bowl gently and lift it straight up. Set it on towels. Scrape off the old wax from the flange with the putty knife and stuff a rag into the drain opening to block sewer gas.
Inspect the flange and set the new wax ring
Check that the flange is solid, level with the floor and not cracked. A broken or sunken flange needs repair before the toilet goes on. Install new bolts, press a fresh wax ring onto the flange or the bowl, and remove the rag.
Lower the bowl and tighten it
Align the bowl holes with the bolts, lower it straight down and press firmly. Tighten the nuts a little at a time, alternating sides, until the bowl is snug and level. Overtightening can crack the porcelain.
Attach the tank and reconnect water
If the tank is separate, install the tank bolts and washers following the maker's instructions. Connect the supply line, open the shut-off valve slowly and check for leaks. Flush several times and watch the base and the connections.
Take your time at the lowering step. Once the bowl presses into the wax, lifting it and trying again usually means a new ring, because a ring that has been compressed once seals badly the second time.
Problems that show up during installation
Surprises under the old toilet are the main reason a simple swap turns into a bigger job. It helps to know what they look like so you can decide how to react.
A rotted or soft floor
If the floor around the flange feels spongy or looks stained, a slow leak has been wetting it for some time. The subfloor needs repair before a new toilet is set, or the toilet will rock and leak again.
A cracked or low flange
A flange that sits below the finished floor, or is broken, will not hold the toilet or the seal. Repair kits exist, but a damaged flange in an old cast iron or plastic drain is often a plumber's job.
Corroded or stuck shut-off valve
Old shut-off valves can seize or drip when turned. If the valve will not close fully, you cannot safely do the job, and the valve itself needs replacing first.
A toilet that rocks
Uneven floors are common. Plastic shims placed under the base and trimmed once the toilet is level fix this, and a bead of caulk around the base holds everything steady.
If the toilet is clogged and not just old, a different set of steps applies, and a toilet that keeps backing up may point to a drain problem farther down the line. That is outside the scope of a simple swap.
DIY or a plumber
DIY or what people try
- Swapping a toilet in a bathroom with a solid floor and a good flange
- Replacing the supply line and shut-off valve in the same visit
- Reusing the old wax ring to save money
- Forcing a bowl onto a flange that does not line up
Professional approach
- Checking the flange, drain and floor before the new bowl goes down
- Replacing seals, bolts and supply lines every time
- Fixing a damaged flange or subfloor correctly
- Testing the finished toilet for leaks and a clean flush
A plumber is usually the better call when the floor is damaged, the drain is unusual, the toilet is a heavy one-piece model or you are moving the toilet to a new spot. Moving the toilet changes the drain and the vent, and that is real plumbing work, not a swap.
What Millbrae homeowners should keep in mind
Older homes, permits and fixtures
Many Millbrae homes were built in the mid-twentieth century, and the Census shows that a large share predate 1960. In houses that age, the floor flange and the drain under the toilet have had decades to wear, and a rusted or cracked fitting is a realistic find when the old toilet comes up. Plan for the possibility, and do not tighten a new bowl down onto a flange that is already failing.
The Millbrae Building Division issues plumbing permits. A like-for-like toilet replacement is a smaller job than most permit work, and the city's pages do not say whether it needs one, so call the division if you are unsure. If a remodel adds fixtures, the permit and the sewer lateral camera inspection requirements in the city's code come into play.
California law also deals with older, high-flow fixtures in certain situations, such as a permitted alteration or a property sale. A modern toilet uses far less water per flush than a very old one, so a replacement can help on both counts. Ask us what applies to your situation.
If the old toilet will not budge, or the new one will not seal
A toilet that leaks after installation is a common snag, and the cause is usually one of three things: the wax ring did not seal, the bolts were tightened unevenly or the flange sits too low.
If water seeps out around the base after a flush, shut off the supply, lift the toilet and look. Do not keep using a leaking toilet, because water under the base will damage the floor over time. A plumber can reset it correctly, replace the ring and repair the flange if needed.
If you would rather have the whole job handled, our toilet repair and installation service removes the old unit, sets the new one and tests it. For bathroom projects that involve more than a toilet, such as moving fixtures or adding new lines, see our plumbing installation work. We serve Millbrae, Burlingame and the towns on our service area page, and the 24/7 line is open for a clear price before work starts.
A straightforward swap on a good floor and flange often takes a couple of hours for a first-timer. Surprises such as a damaged flange, a bad shut-off valve or a rotted floor can add a lot more time.
Yes. A wax ring seals once, and once it has been compressed it will not seal reliably again. Replace the ring, the bolts and the supply line whenever you lift or replace a toilet.
Often, with plastic shims under the base and caulk once it is level. A floor that slopes badly or feels soft needs repair first, because shimming cannot fix a damaged subfloor.
Look for water around the base, a damp or soft floor nearby, a rocking toilet or a sewer smell. Any of these can point to a failed seal or a bad flange.
Elongated bowls are longer and often more comfortable, but need more room. Round bowls suit tighter bathrooms. Measure the space in front of the toilet before choosing.
The city's pages do not say whether a like-for-like toilet swap needs a permit, so contact the Millbrae Building Division to confirm. If you are adding or moving fixtures, permits may apply and a sewer lateral inspection can be required.
Sources and standards: The California Plumbing Code (based on the Uniform Plumbing Code). The Millbrae Building Division for permits.